Deploy a Speech-To-Text Model using Model Catalog
Following this guide you will learn how to use the catalog to swiftly deploy a w2v2 model with Hyperpod AI and perform an inference through a simple API.
🚀 RECOMMENDED: Try our ready-made Colab notebook — run everything in your browser with zero hassle!
🎙️ What is wav2vec2?
Wav2Vec2 is a state-of-the-art speech recognition model developed by Facebook AI. It transforms raw audio waveforms into text using self-supervised learning. It’s ideal for building voice assistants, transcription tools, and voice-controlled applications.
To use Wav2Vec2, we convert audio into normalized waveform arrays — the model then maps them directly to tokenized transcriptions.
While the pre-trained Wav2Vec2 model offers decent performance out of the box, it may not be highly accurate for all domains, accents, or specialized vocabularies. However, its architecture is well-suited for fine-tuning on custom datasets, making it a powerful and accessible option for creating speech-to-text models tailored to your specific use case. Hugging Face provides a detailed guide on how to fine-tune Wav2Vec2 using the Transformers library, allowing developers to quickly adapt the model to their own audio data.
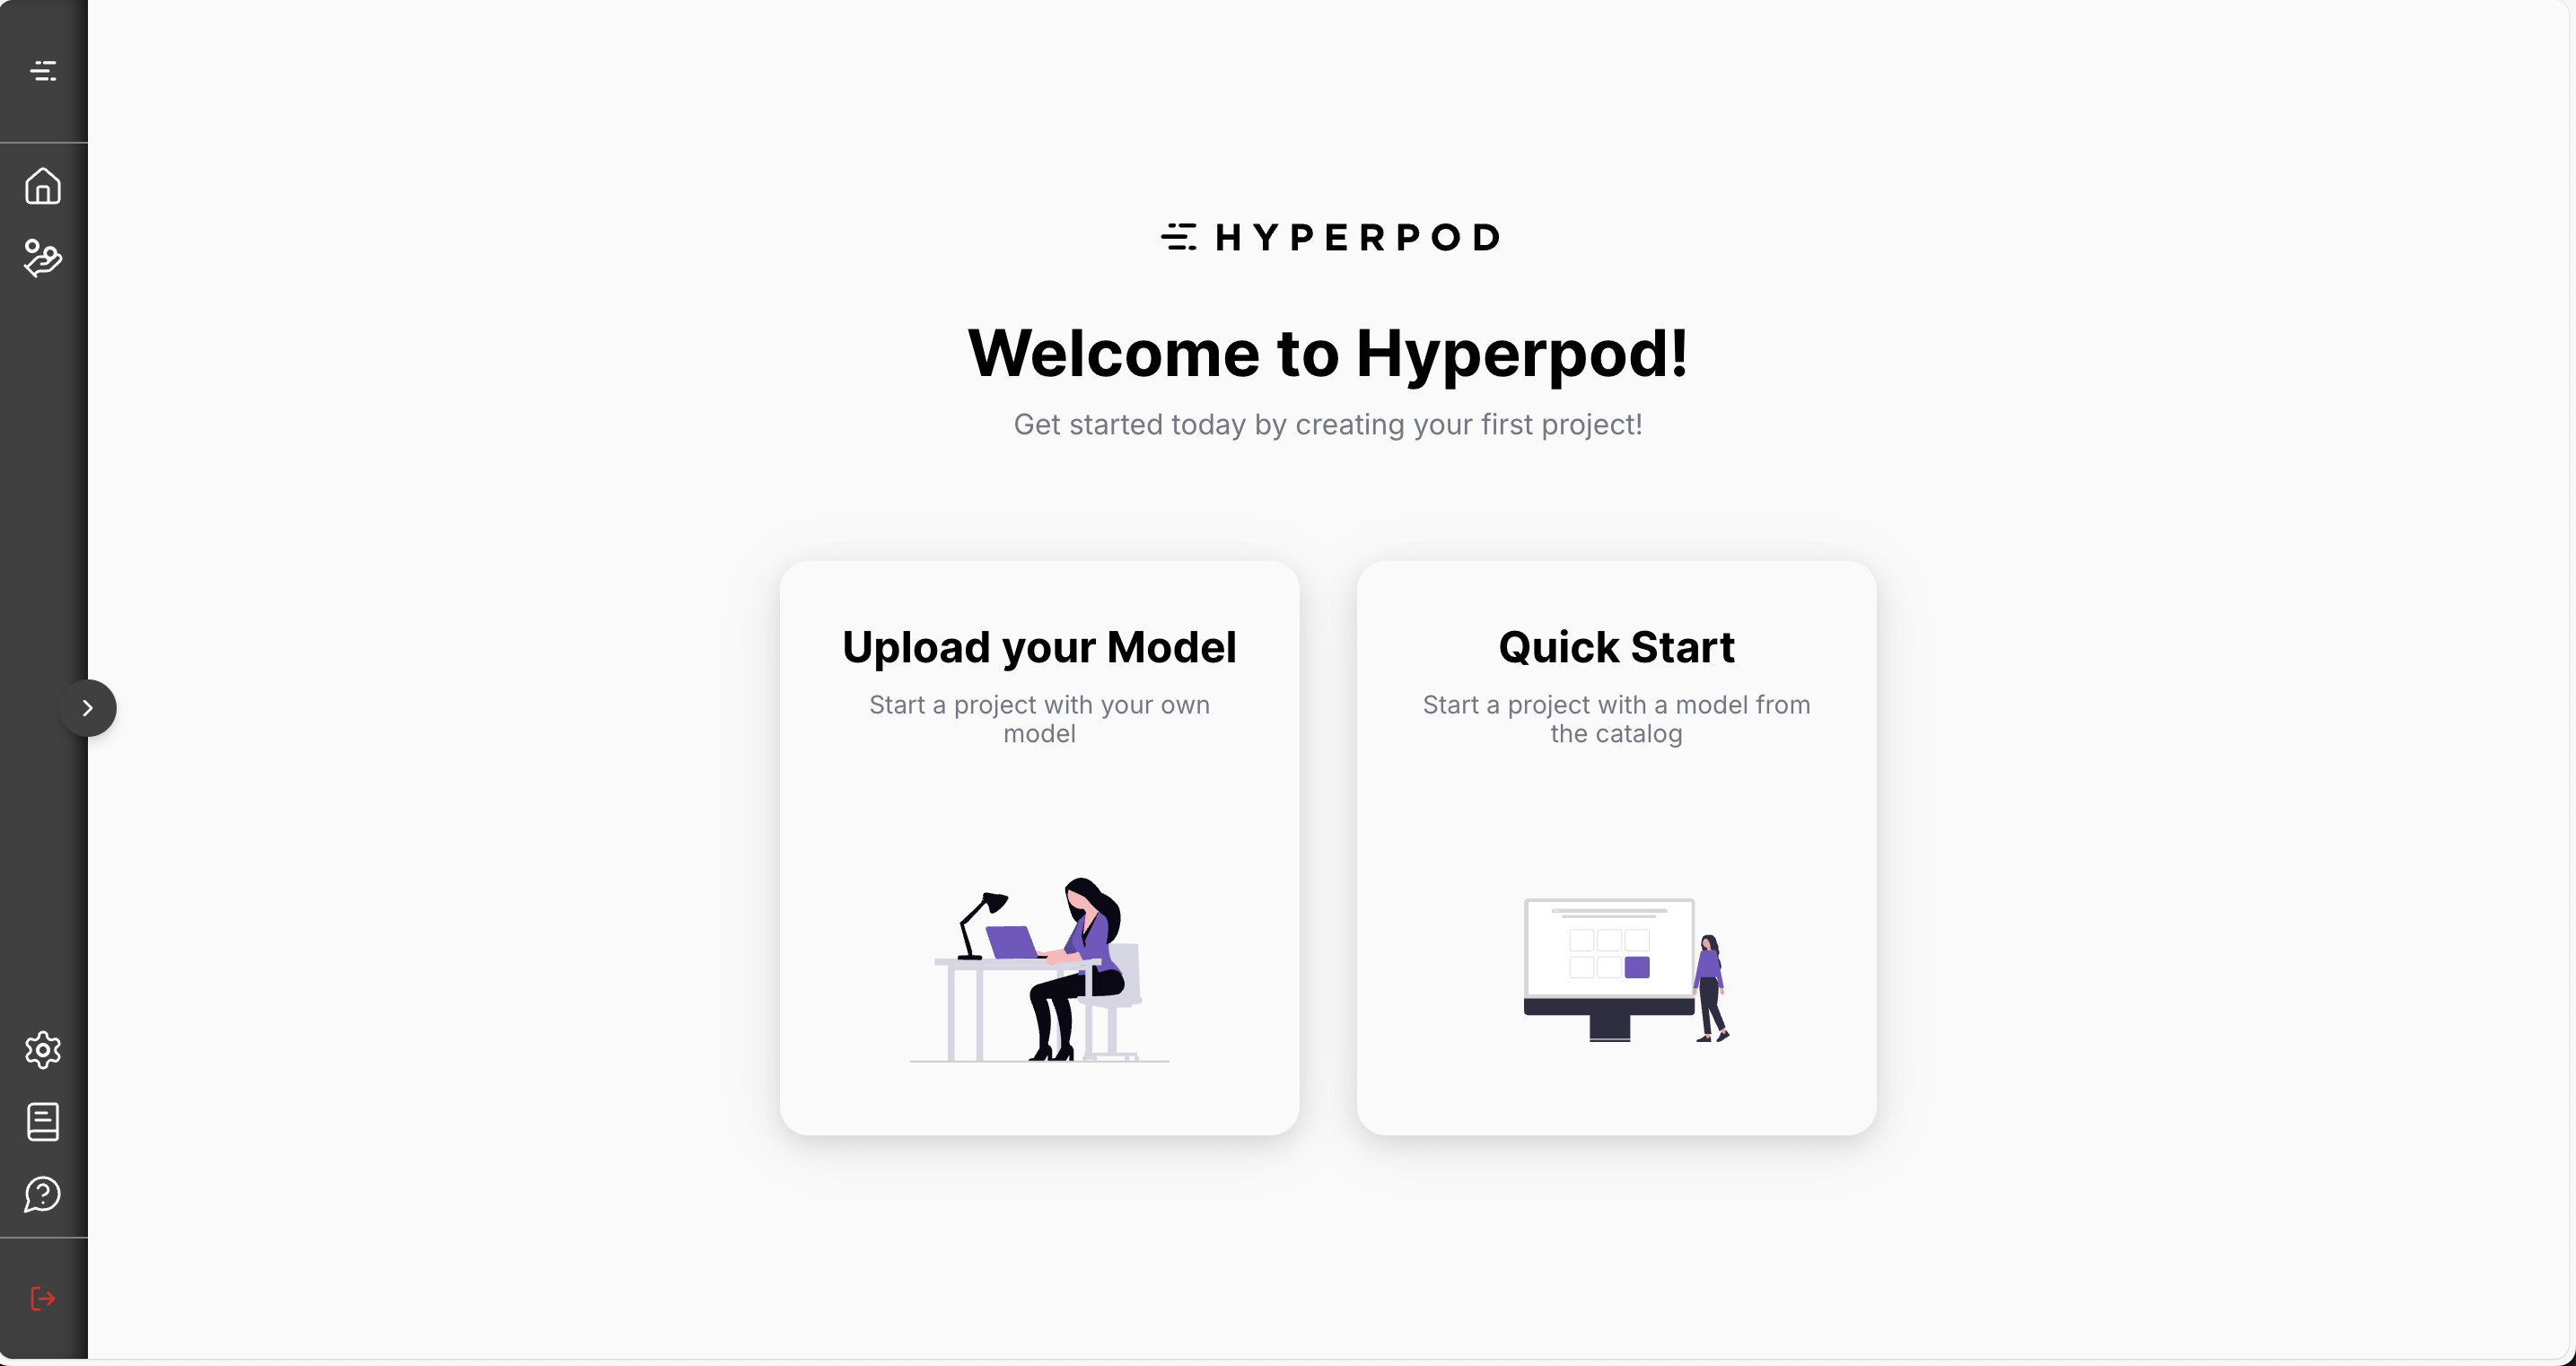
🔐 Step 1: Sign Up on Hyperpod AI
Head to app.hyperpodai.com
- Create a free account (includes 10 free hours)
- Click on “Quick Start”
🛠️ Step 2: Set Up Your Project
Fill in the project form as follows:
-
Project Name: (Any name — for your reference)
-
Choose a Model: Select Wave2Vec Speech-To-Text model
-
Click Create Project. This may take a few minutes as Hyperpod sets up and optimizes the deployment for you automatically.
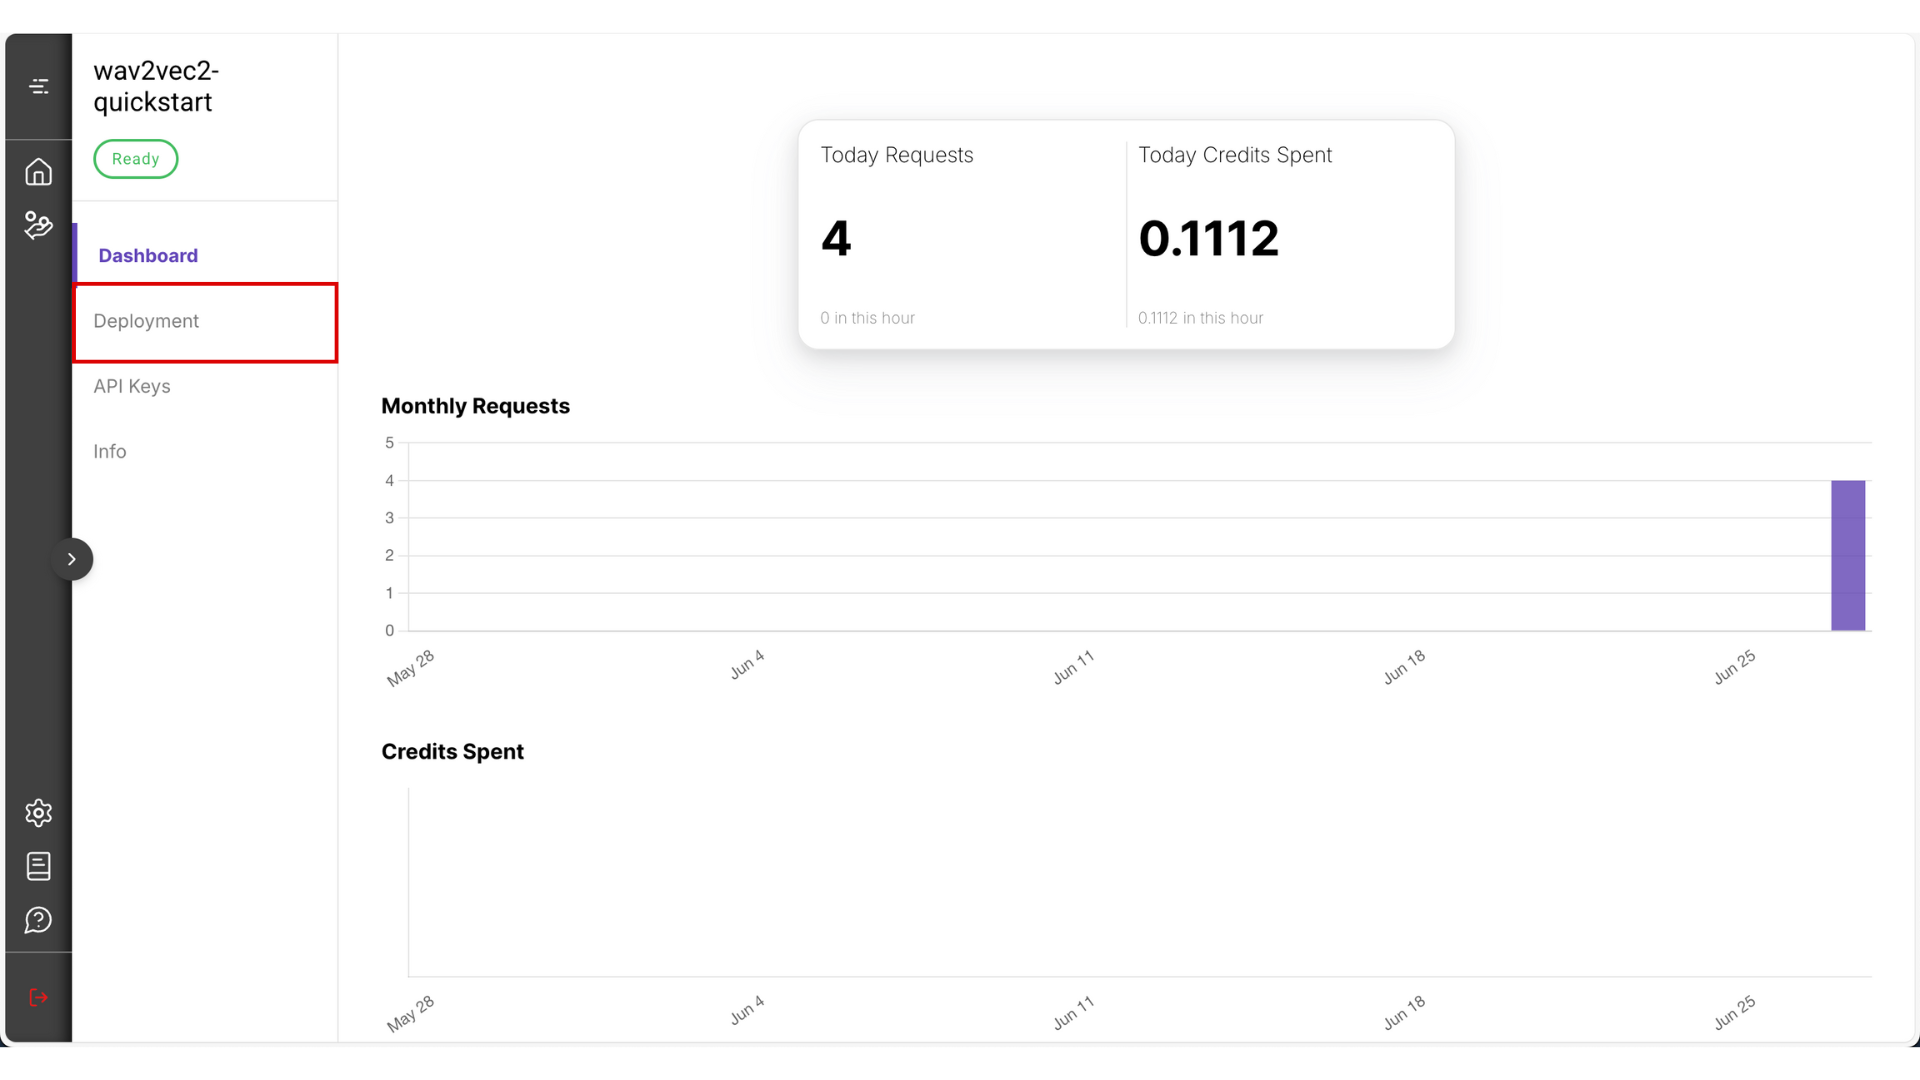
🔑 Step 3: Set up your API
-
After the deployment is done it should look like something this

-
Go to Deployment
-
You can choose between Test mode and Production mode. For this guide, select Test mode — it’s the most cost-effective option. Read more about the difference between test and production mode.
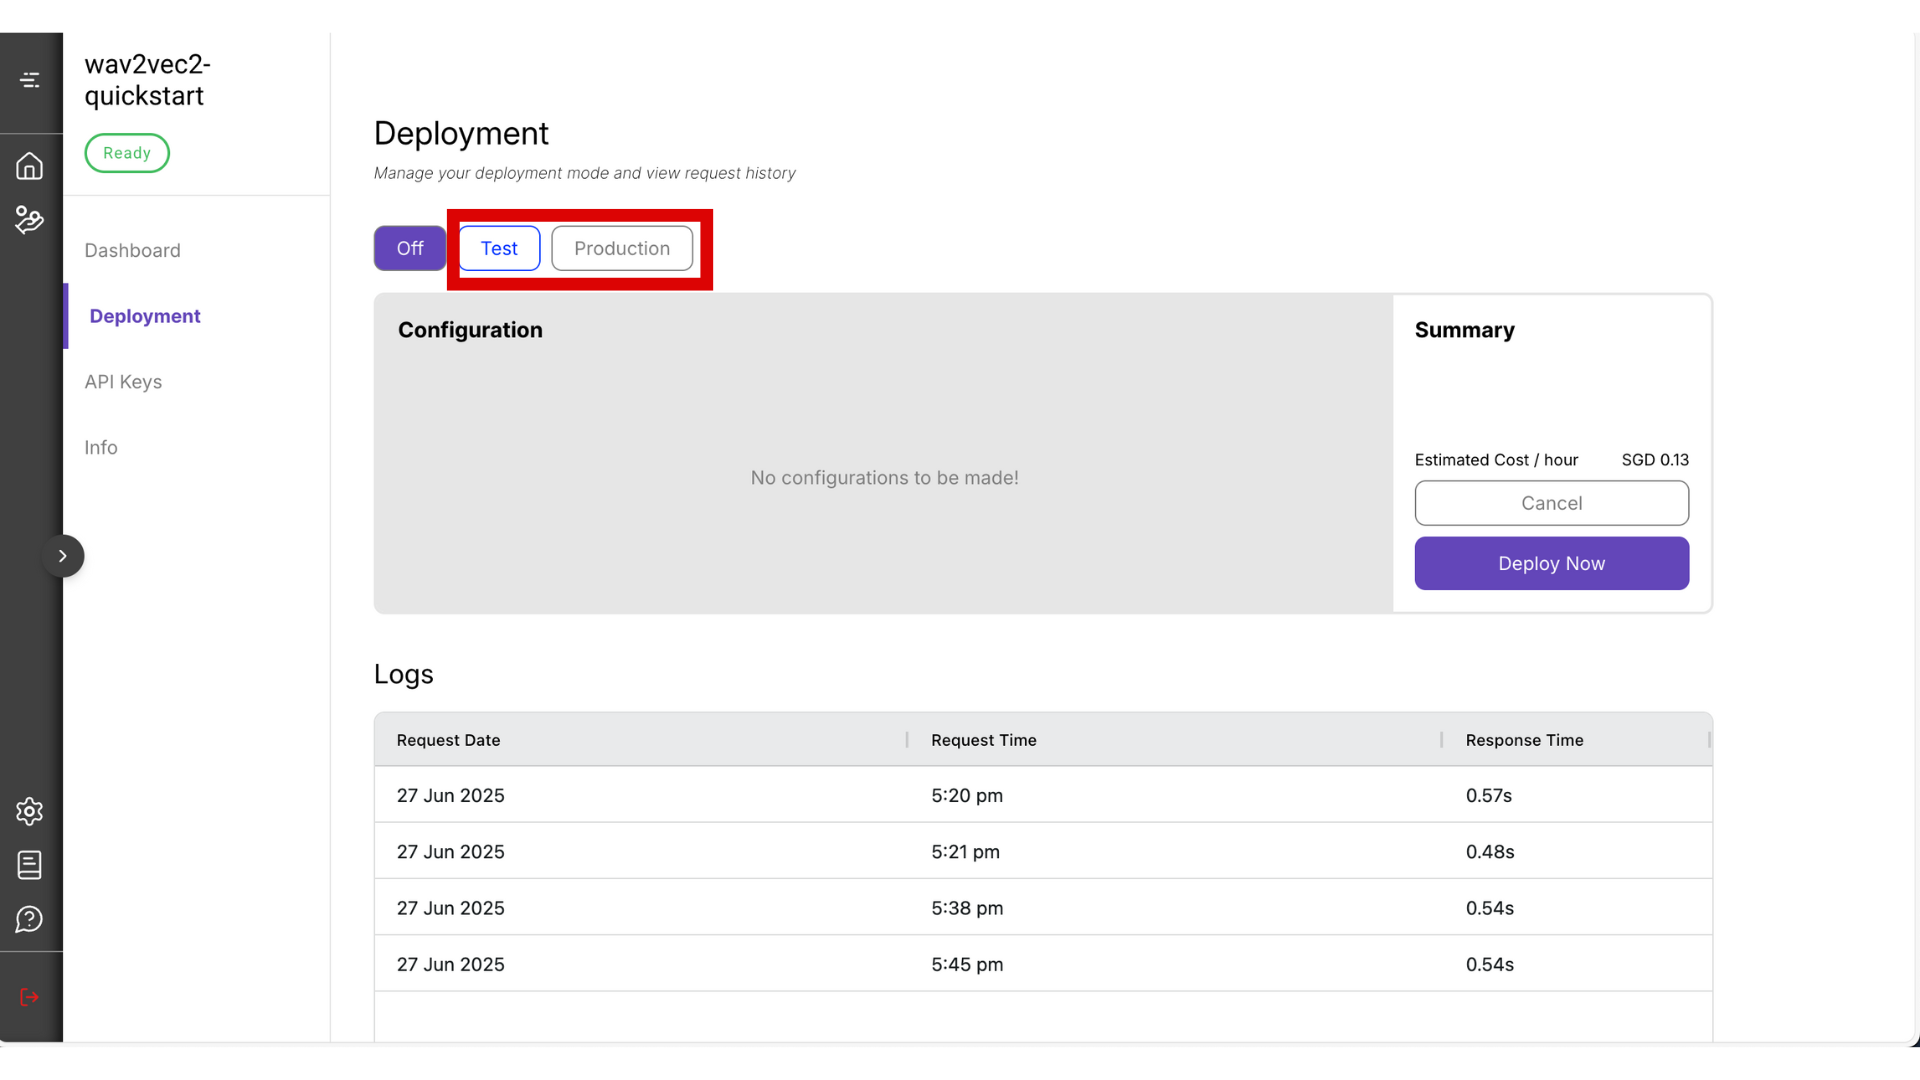
⚠️ Warning: Be sure to manually turn it off by clicking the Off button when you’re not using it, to avoid unnecessary charges.
- The deployment process may take around 10 minutes. Once it’s ready, copy the Endpoint URL and Project ID that will be visible from this page.
- Navigate to the API Keys section.
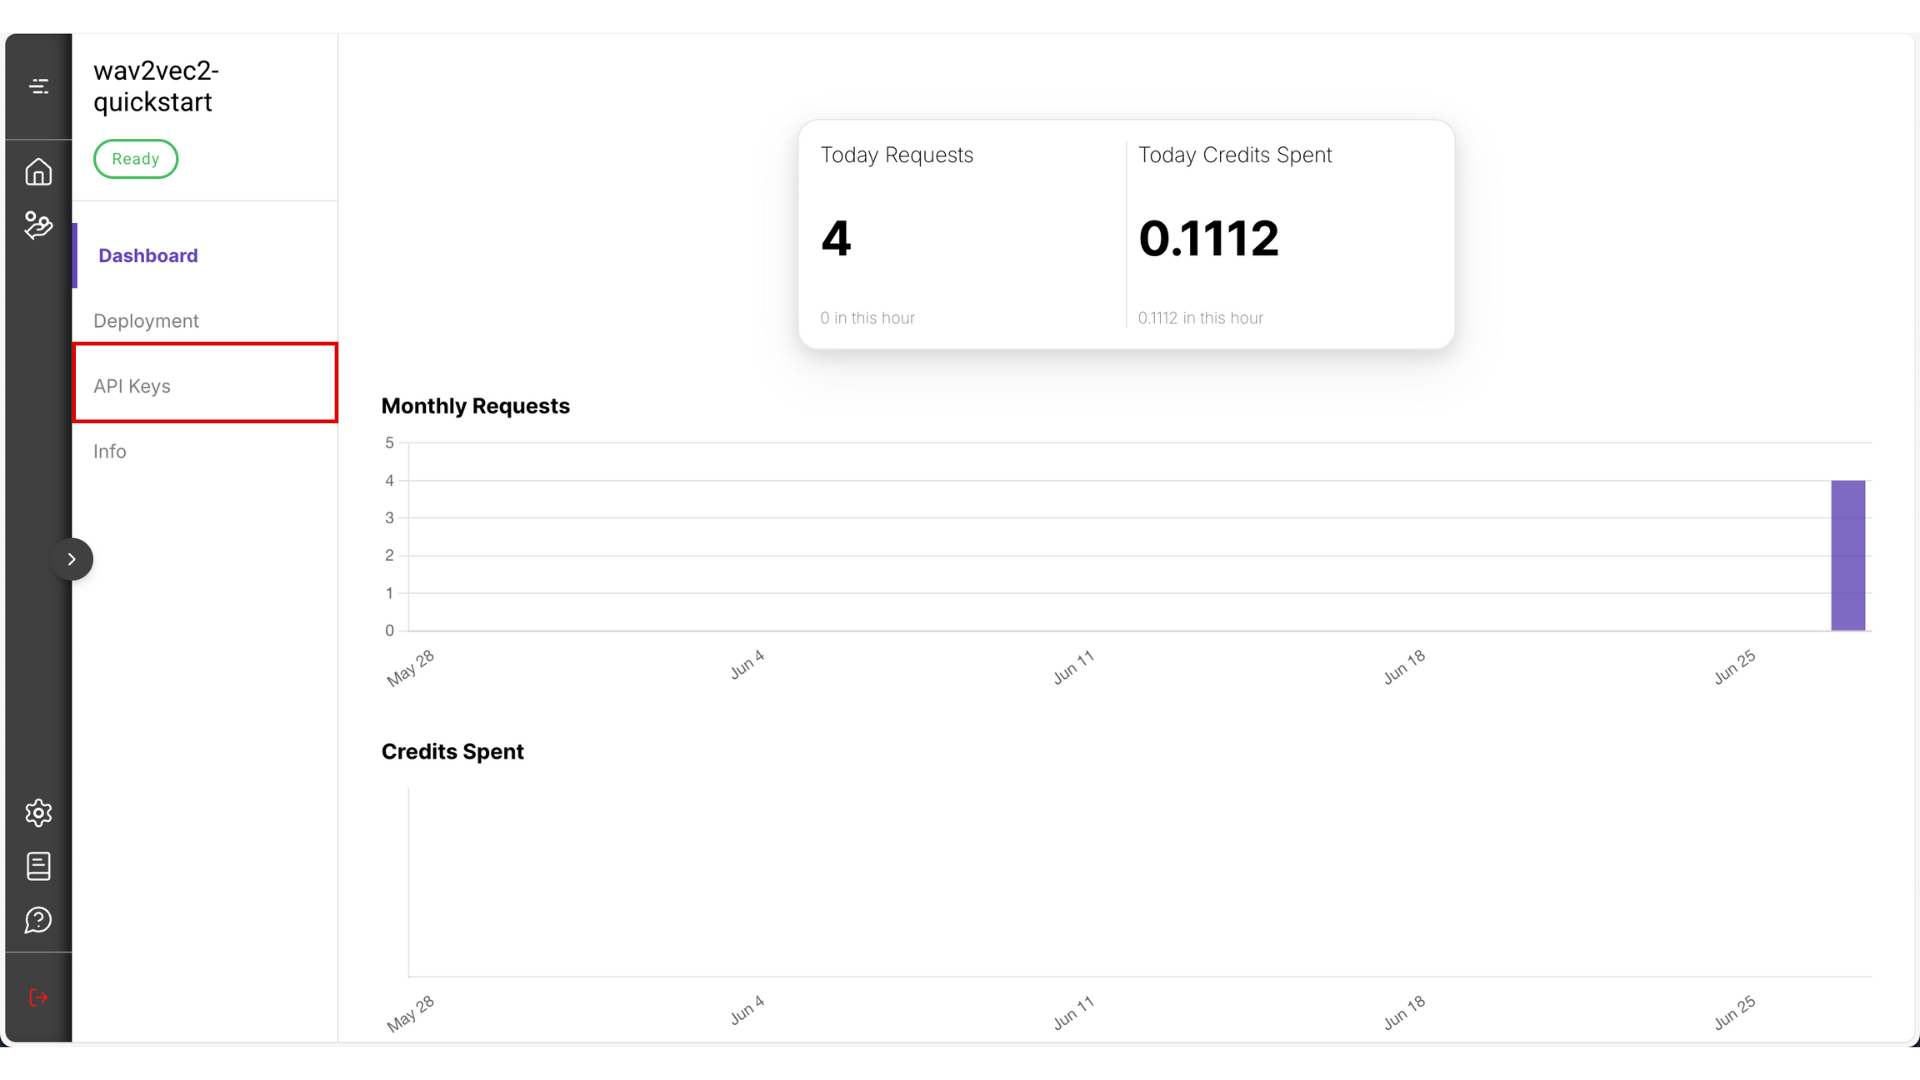
- Set a name (for your own reference), and choose a validity period. Then click Create Key
- After the key is generated, copy and store it somewhere safe — you won’t be able to view it again from the platform.
⚠️ Warning: Never store your API key in public locations (like GitHub repositories). If exposed, malicious users could access your API and incur charges on your behalf.
✅ Preprocess the Audio with Huggingface
To generate inputs, you’ll need to first preprocess the audio:
from pydub import AudioSegment
import numpy as np
from transformers import Wav2Vec2Processor

endpoint_url = 'your-endpoint-url'
api_key = 'your-api-key'
project_id = 'your-project-id'
file_path="your-audio-file"
target_sampling_rate=16000

processor = Wav2Vec2Processor.from_pretrained("facebook/wav2vec2-large-960h-lv60-self")
audio = AudioSegment.from_file(file_path).set_frame_rate(target_sampling_rate).set_channels(1)
samples = np.array(audio.get_array_of_samples()).astype(np.float32)
samples = samples[:target_sampling_rate]

data_values = processor(samples, return_tensors="np", padding=True)
✅ Step 5: Call the API
Now that you have the tokenized text array, send it to the inference endpoint:
import httpx

print(type(data_values))

client = httpx.Client(http2=True, timeout=httpx.Timeout(30.0))
response = client.post(endpoint_url,
	headers={
   		'content-type': 'application/json',
		  'x-api-key': api_key
	}, json = {
		  'project_id': project_id,
		  'grpc_data': {'array':data_values['input_values'].tolist()}
	})

print(response.text)
📝 Final Step: Post-processing
The Wav2Vec2 model used here is from Hugging Face’s Transformers library. After running inference, the model outputs token IDs representing predicted characters or subwords. To convert these token IDs into human-readable text, you need to use the Wav2Vec2Processor, which comes with the model. This processor handles decoding, including any special handling like removing padding tokens or applying a language model if one is attached. According to the model’s documentation on Hugging Face, decoding with this processor is the recommended approach to get accurate transcriptions.
def to_numpy_array(array, dtype, shape):
    arr = np.array(array, dtype=dtype)
    return arr.reshape(shape)

output_ids = to_numpy_array(**output)[0]
res = np.argmax(output_ids, axis=-1)

# Assuming output_ids is the response from your API
decoded_text = processor.decode(res[0])
print(decoded_text)